How to Align Text and Views in SwiftUI

Alignment or Layer Problem?
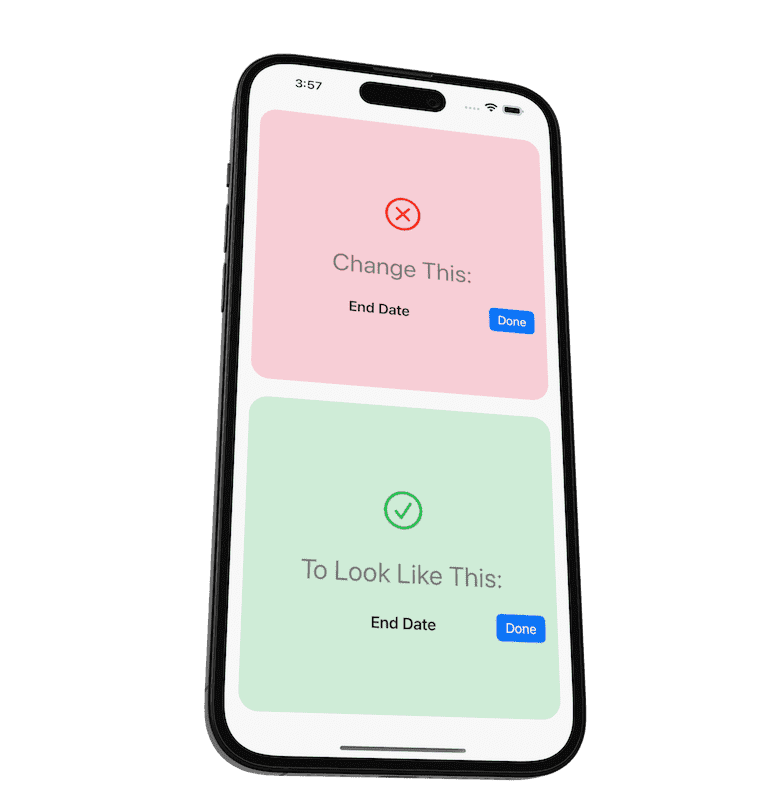
Recently in my local Apple development Slack group, someone asked:
In an
HStackwith two elements, how can I center-align one element and right-align the other?
"End Date" should be center-aligned
The Done button should stay on the trailing side.

Currently the "End Date" is not centered within the screen's width.
Here is the code he started with:
HStack {
    Spacer()
    Text("End Date")
        .font(.title3.weight(.semibold))
    Spacer()
    Button("Done") { }
        .buttonStyle(.borderedProminent)
}
.padding()
Immediately, you might think this is an alignment problem.
But actually, the solution is with layers (and then alignment).
Layers
I find it easier to align individual views within their own spaces. I rarely use the Spacer() view.
So I would put the text and button on their own layer and align them separately.
When working with layers in SwiftUI, you should think in 3 ways:
ZStack
Overlay
Background
The above layout can be solved using ANY of the 3 ways above.
Let's take a look:
ZStack
ZStack(alignment: .trailing) {
    Text("End Date")
        .font(.title3.weight(.semibold))
        .frame(maxWidth: .infinity)
    Button("Done") { }
        .buttonStyle(.borderedProminent)
}
We have the text stretch to the full width of the screen and within the frame, the text will be centered.
Since the alignment is set on the ZStack, any view not filling the total width will be trailing-aligned, such as the button.
Overlay
Text("End Date")
    .font(.title3.weight(.semibold))
    .frame(maxWidth: .infinity)
    .overlay(alignment: .trailing) {
        Button("Done") { }
            .buttonStyle(.borderedProminent)
    }
Again, the text is stretched full width.
The overlay modifier sets the alignment to trailing so anything within it will be aligned.
Background
Text("End Date")
    .font(.title3.weight(.semibold))
    .frame(maxWidth: .infinity)
    .background(alignment: .trailing) {
        Button("Done") { }
            .buttonStyle(.borderedProminent)

    }
Similar to overlay, but uses the background modifier instead.
The button will still work if it's not covered up.
Here is the result:

Which solution is better?
As you can see, all three solutions solve the problem.
But there is one thing to note:
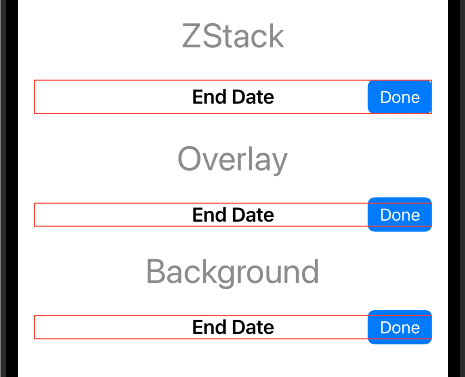
Views within the overlay and background can extend beyond the parent view.
When you add .border(.red) to each of the solutions, you can see this:

Notice the buttons go beyond the border for the overlay and background solutions.
This could potentially interfere with your layout. So it is something to keep in mind when using them.
A good rule to follow is:
Your parent view should take up more space than your background and overlay views.
This will help prevent potential layout problems.
Free Book
Unlock your SwiftUI potential and take your app-building skills to the next level with the free guide, “SwiftUI Views Quick Start”.
Your Learning Path Quick Links
Create UI with SwiftUI Views Mastery (beginner)
Architect your app using Working with Data in SwiftUI (beginner)
Improve your app's UX with SwiftUI Animations Mastery (junior)
Save & sync your app's data with Core Data Mastery -or- SwiftData Mastery (junior)
React to and manipulate data using Combine Mastery in SwiftUI (advanced)

