- Apr 7, 2024
How to animate text opacity, color, position, and size in SwiftUI
- Mark Moeykens
- SwiftUI
Learn 4 ways to animate text using SwiftUI's powerful and easy animation modifier.
SwiftUI Example Template
struct AnimatingText: View {
    @State private var isAnimating = false

    var body: some View {
        VStack {
            Spacer()

            Text("Hello, SwiftUI!")
                .animation(.easeInOut(duration: 1), value: isAnimating)

            Spacer()

            Button("Animate") {
                isAnimating.toggle()
            }
            .buttonStyle(.borderedProminent)
        }
        .font(.largeTitle.weight(.heavy).width(.condensed))
    }
}
Things to note:
The
animationmodifier animates nothing on its own. It only specifies what kind of animation you want to be used WHEN the associated value changes.This animation will use the easeInOut speed: slower at in and out (start and end). The duration is 1 second.
Nothing in this view changes when the
isAnimatingvalue changes.-
Tapping the Animate button will do nothing in this example.
1. Animating Text Opacity
SwiftUI provides the .opacity() modifier for this purpose.
Text("Hello, SwiftUI!")
    .opacity(isAnimating ? 0 : 1)
    .animation(.easeInOut(duration: 1), value: isAnimating)
When
isAnimatingchanges, the opacity will change using the animation specified.
2. Animating Text Color
SwiftUI provides the .foregroundStyle() modifier for this purpose. (Note: Color is a Style that can be applied to text.)
Text("Hello, SwiftUI!")
    .foregroundStyle(isAnimating ? .red : .purple)
    .animation(.easeInOut(duration: 1), value: isAnimating)
When
isAnimatingchanges, the color will change using the animation specified.

3. Animating Text Position
Use the .off
set() modifier for this purpose.
Text("Hello, SwiftUI!")
    .offset(y: isAnimating ? -200 : 0)
    .animation(.easeInOut(duration: 1), value: isAnimating)
When
isAnimatingchanges, the offset (vertical y position) will change using the animation specified.

4. Animating Text Size
For size, use the .font() modifier for this purpose.
Text("Hello, SwiftUI!")
    .font(isAnimating ? .largeTitle : .body)
    .animation(.easeInOut(duration: 1), value: isAnimating)
When
isAnimatingchanges, the text style will change using the animation specified.

Note: You can also change text size using system sizes:
Text("Hello, SwiftUI!")
    .font(isAnimating ? .largeTitle : .body)
    .animation(.easeInOut(duration: 1), value: isAnimating)
Use Cases
Animating text in SwiftUI can be useful in several scenarios:
User Attention: You can use animation to draw the user’s attention to important information or alerts.
Transitions: Animated text can smooth transitions between different pieces of content.
Visual Feedback: Animation can provide visual feedback in response to user actions.
Aesthetic Appeal: Animations can make your app more visually appealing and engaging, even if subtle.
Learn More
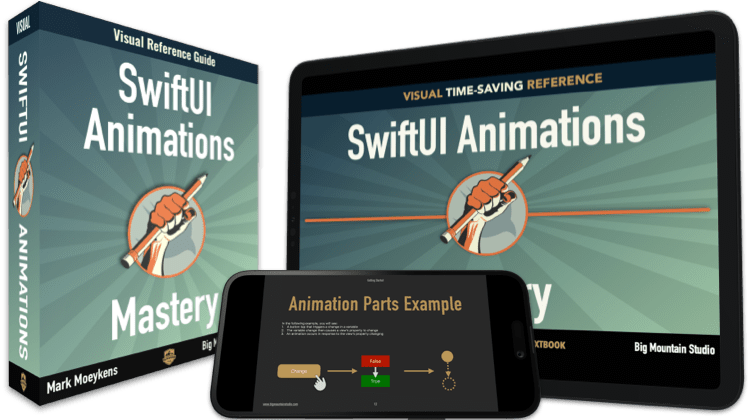
In the book SwiftUI Animations Mastery, you can learn more about animations, including:
How to present sheets using an Identifiable object (helpful for showing object data)
How to disabled the swipe-to-dismiss gesture on sheets (see page below)
How to control how high the sheet goes up (by default it is full screen but you can make it as short as you want)
How to give your sheets multiple stages of height to fit your sheet content
How to add or hide a drag indicator on your sheet
How to customize the sheet's corner radius and background style
🌟 Special Offer: SwiftUI Enthusiasts to Save 11%! 🌟
As a thank you for reading our blog, we're thrilled to offer you an exclusive 11% discount on all our SwiftUI books!
📚 Use coupon code POSTS_11 at checkout or just click this link bigmountainstudio.com to claim your discount.
(Note: Coupons cannot be used during sales.)

Your Learning Path Quick Links (Save 11%)
Create UI with SwiftUI Views Mastery (beginner)
Architect your app using SwiftUI Essentials (beginner)
Improve your app's UX with SwiftUI Animations Mastery (junior)
Save & sync your app's data with Core Data Mastery -or- SwiftData Mastery (junior)
React to and manipulate data using Combine Mastery in SwiftUI (advanced)