SwiftUI: How do I Change the Background Color in 2024?

In this blog post, we’re going to learn 3 ways to add background colors to a SwiftUI screen.
Thinking in Layers in SwiftUI
There are many ways to create layers in SwiftUI:
Background modifier
Overlay modifier
ZStack view
Each of these items can be used to create background colors.
Let’s look at examples of each.
Background Modifier
Here’s an example of how to add a background color to a SwiftUI view using the background modifier:
struct Background_Color: View {
    var body: some View {
        VStack {
            Text("Using Background Color")
        }
        .frame(maxWidth: .infinity, maxHeight: .infinity)
        .background {
            Color.teal.opacity(0.3)
                .ignoresSafeArea()
        }
    }
}
Things to note:
If you are using the background modifier then your root view should take up the whole screen (that’s why you see max width and height on the VStack).
The ignoresSafeArea() modifier is used on the color so it extends into the safe areas.
What is the Safe Area?
The safe area is where your UI can be presented without device elements covering them up, such as a notch, island, or the home indicator at the bottom of the screen.

Safe Area — Page from SwiftUI Views Mastery book by Big Mountain Studio
Overlay Modifier
Here’s an example of how to add a background color to a SwiftUI view using the overlay modifier:
struct Overlay_BackgroundColor: View {
    var body: some View {
        Color.teal.opacity(0.3)
            .ignoresSafeArea()
            .overlay {
                VStack {
                    Text("Using Overlay")
                }
            }
    }
}
Things to note:
Color views are “push-out” views, meaning they will use up as much space as they can. So you don’t have to add maxHeight and maxWidth to make them stretch out.
Your main screen content will go directly into the overlay modifier.
ZStack View
Here’s an example of how to add a background color to a SwiftUI view using the ZStack view:
struct ZStack_BackgroundColor: View {
    var body: some View {
        ZStack {
            Color.teal.opacity(0.3)
                .ignoresSafeArea()

            Text("Using ZStack")
        }
    }
}
Things to note:
The ZStack layers the containing views within it. The first view (the color in this case) is the furthest back.
This is my preferred method of adding a background color to a view in SwiftUI. It’s very clean, with less indenting.
Background for List View
Here's an example of how to add a background color to a SwiftUI List:
struct Background_List: View {
    private var stringArray = ["Lemuel", "Mark", "Chris", "Chase", "Adam", "Rodrigo"]

    var body: some View {
        List(stringArray, id: \.self) { string in
            Text(string)
        }
        .background(Color.teal.opacity(0.3))
        .scrollContentBackground(.hidden)
        .font(.title)
    }
}
If you want the background to show behind the rows too, then you can use the listRowBackground modifier:
struct Background_List: View {
    private var stringArray = ["Lemuel", "Mark", "Chris", "Chase", "Adam", "Rodrigo"]

    var body: some View {
        List(stringArray, id: \.self) { string in
            Text(string)
                .listRowBackground(Color.clear)
                .listRowSeparator(.hidden)
        }
        .background(BackgroundView())
        .scrollContentBackground(.hidden)
        .font(.title)
    }
}
Things to note:
Since the List pushes out to take up the whole screen, you don't need to use a
ZStackhere.What makes this work is the
scrollContentBackgroundmodifier on the List. This will also work for anyScrollViewtoo.
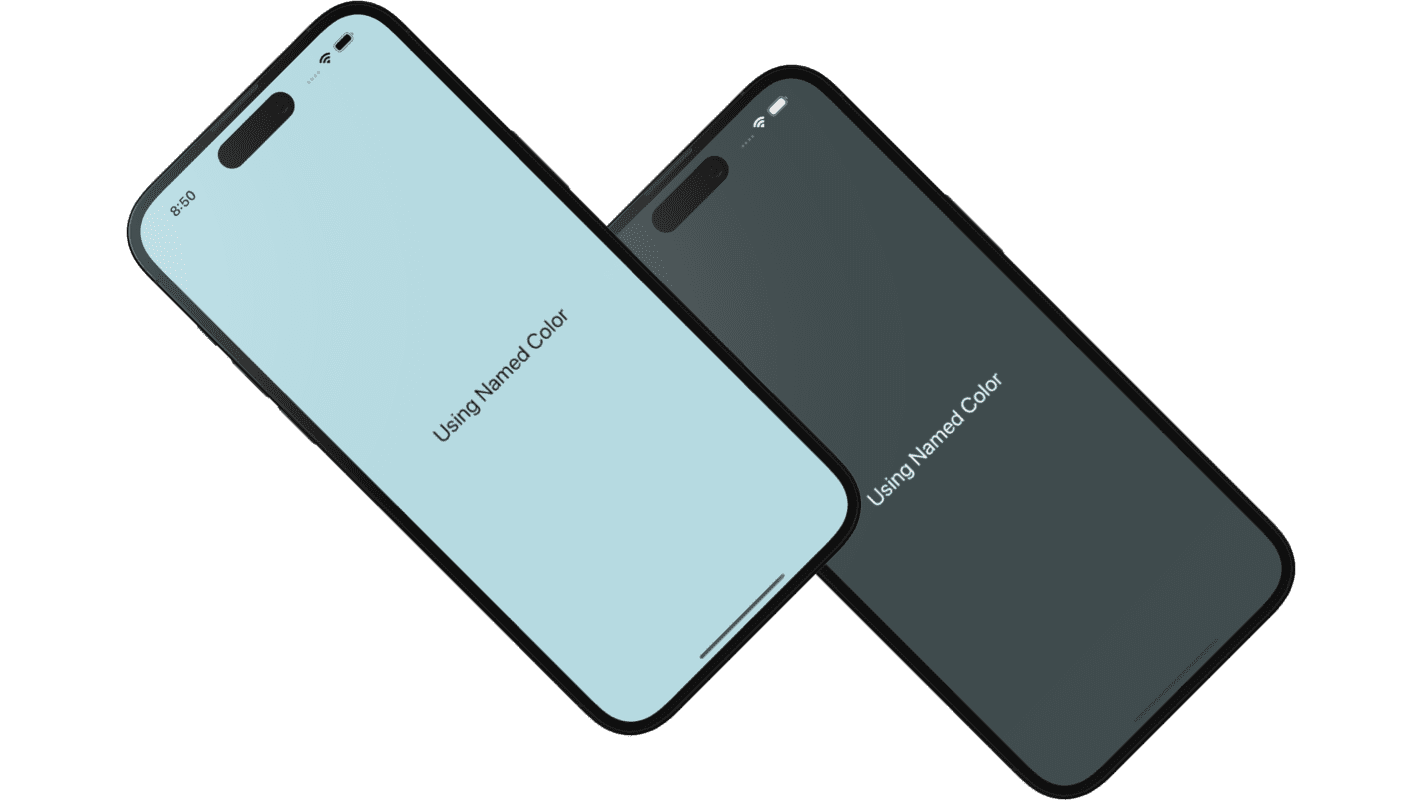
Using a Named Color
You can create a color set in your Xcode Asset Library (Assets.xcassets file):

Then you reference the name of this color ("BackgroundColor") in code:
struct Background_NamedColor: View {
    var body: some View {
        ZStack {
            Color("BackgroundColor")
                .ignoresSafeArea()

            VStack {
                Text("Using Named Color")
            }
            .font(.title)
        }
    }
}
Managing Your Backgrounds
It may be simpler to have your background defined in just one view that you can use everywhere.
Here's an example of how you can do that:
struct Background_ExtractedView: View {
    var body: some View {
        ZStack {
            BackgroundView()

            VStack {
                Text("Using Extracted View")
            }
            .font(.title)
        }
    }
}

struct BackgroundView: View {
    var body: some View {
        Color.teal
            .opacity(0.3)
            .ignoresSafeArea()
    }
}
If you change your mind later, you can replace the content of the BackgroundView with a different background, such as a blurred image:
struct BackgroundView: View {
    var body: some View {
        Image("mountain")
            .resizable()
            .scaledToFill()
            .ignoresSafeArea()
            .opacity(0.5)
            .overlay(.thinMaterial)
    }
}
Or a gradient:
struct BackgroundView: View {
    var body: some View {
        LinearGradient(colors: [Color.teal, Color.indigo],
                       startPoint: .topLeading,
                       endPoint: .bottomTrailing)
            .opacity(0.5)
            .ignoresSafeArea()
    }
}
Things to note:
The
BackgroundViewcan be in a separate file where your other common, reusable views are.Once used throughout your app, you can just make changes in one place to affect all backgrounds.
I usually add some opacity to the background so light and dark modes show better.
Free Book
Unlock your SwiftUI potential and take your app-building skills to the next level with the free guide, “SwiftUI Views Quick Start”.


Your Learning Path Quick Links
Create UI with SwiftUI Views Mastery (beginner)
Architect your app using Working with Data in SwiftUI (beginner)
Improve your app's UX with SwiftUI Animations Mastery (junior)
Save & sync your app's data with Core Data Mastery -or- SwiftData Mastery (junior)
React to and manipulate data using Combine Mastery in SwiftUI (advanced)